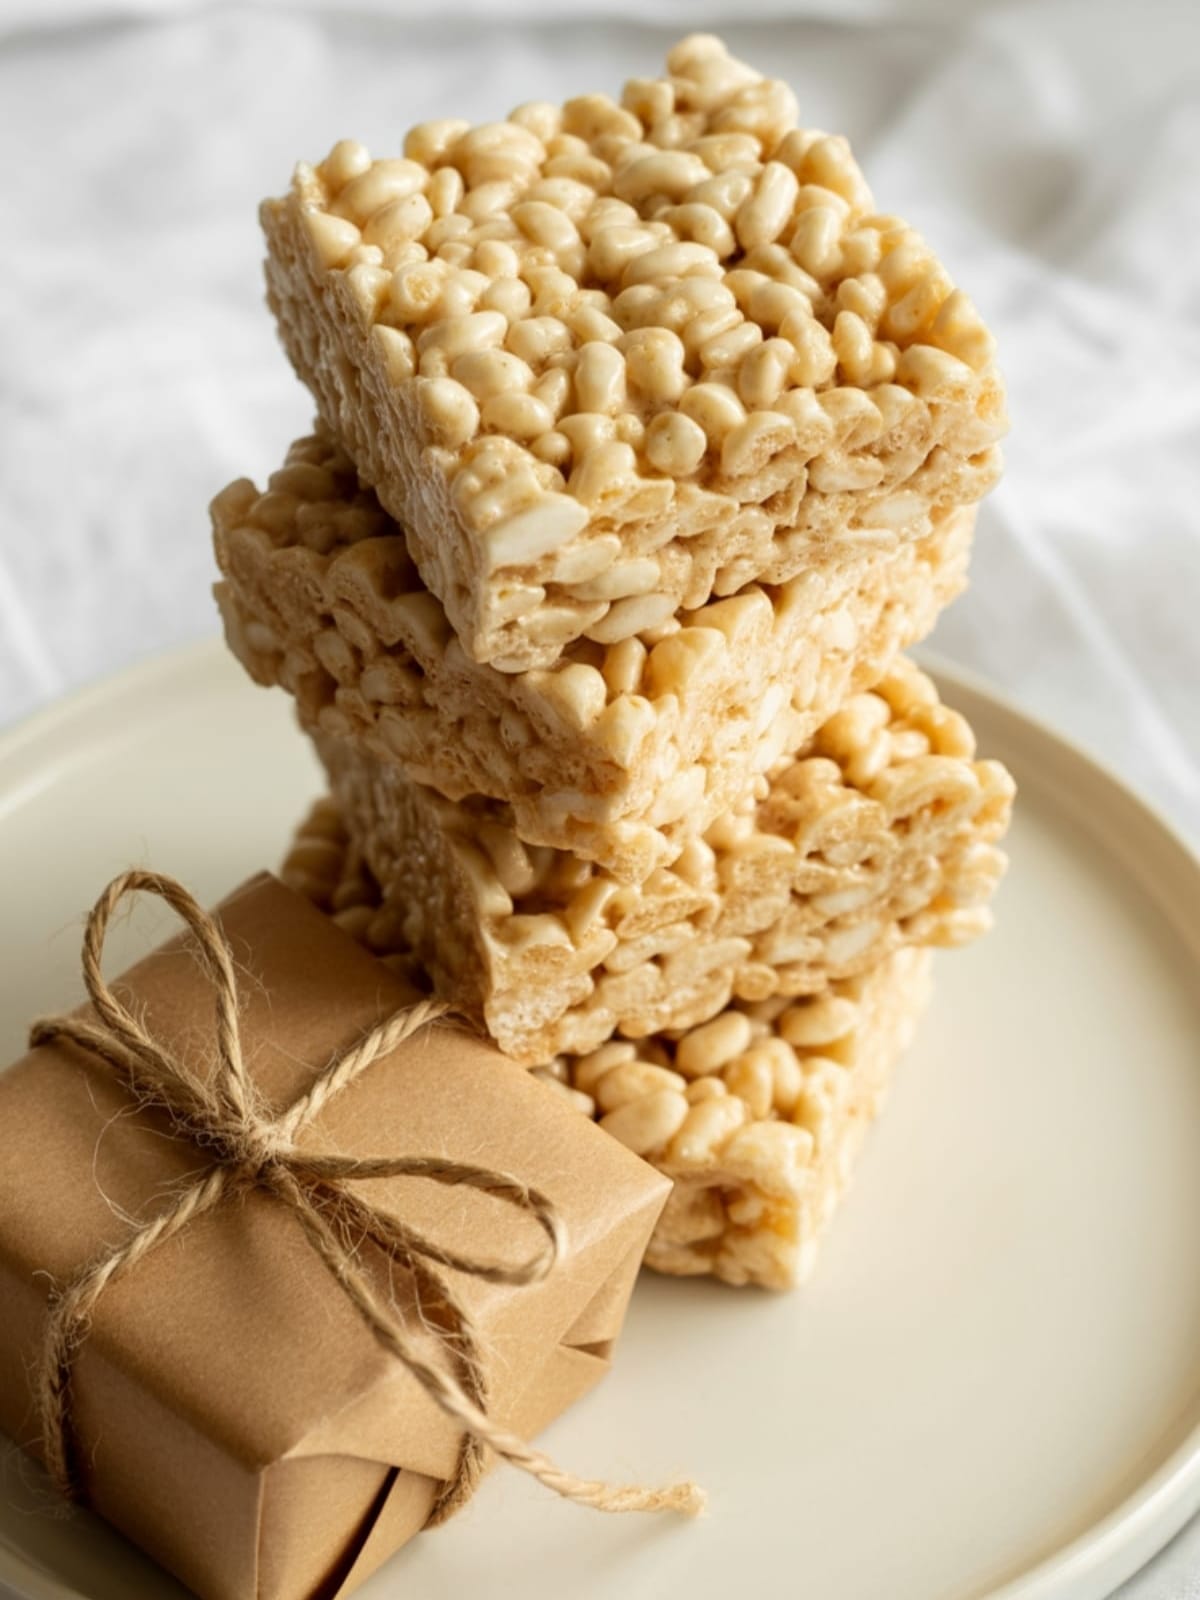
Remember that magical moment as a kid when someone pulled out a fresh tray of Rice Krispie treats? The gleaming, gooey squares that promised pure happiness in just one bite? Today, we’re reclaiming that joy with a perfected homemade version that puts those store-bought versions to shame.
These aren’t just any Homemade Rice Krispie Treats – they’re the buttery, marshmallowy squares of nostalgia you’ve been craving, but even better than you remember.
Why This Recipe is Awesome
What makes these Homemade Rice Krispie Treats special is their perfect balance – they’re soft and chewy without being too sticky or too firm. The secret lies in the butter-to-marshmallow ratio that creates that melt-in-your-mouth texture we all chase.
Unlike many recipes that result in rock-hard squares by the next day, these treats stay perfectly tender for days (though they rarely last that long). The touch of vanilla and salt elevates them from a simple kids’ treat to a sophisticated sweet that adults find themselves reaching for “just one more” piece of.
Best of all, this recipe requires just 4 ingredients and about 10 minutes of active time – making it perfect for last-minute gatherings, bake sales, or satisfying that sudden sweet tooth emergency we all experience.
Equipment needed: Large pot or Dutch oven, wooden spoon, baking pan, parchment paper, measuring cups
Homemade Rice Krispie Treats
Ingredients
- 6 tablespoons unsalted butter
- 16 oz 2 bags mini marshmallows, divided (reserve 2 cups)
- 1 teaspoon pure vanilla extract
- 1/4 teaspoon fine sea salt
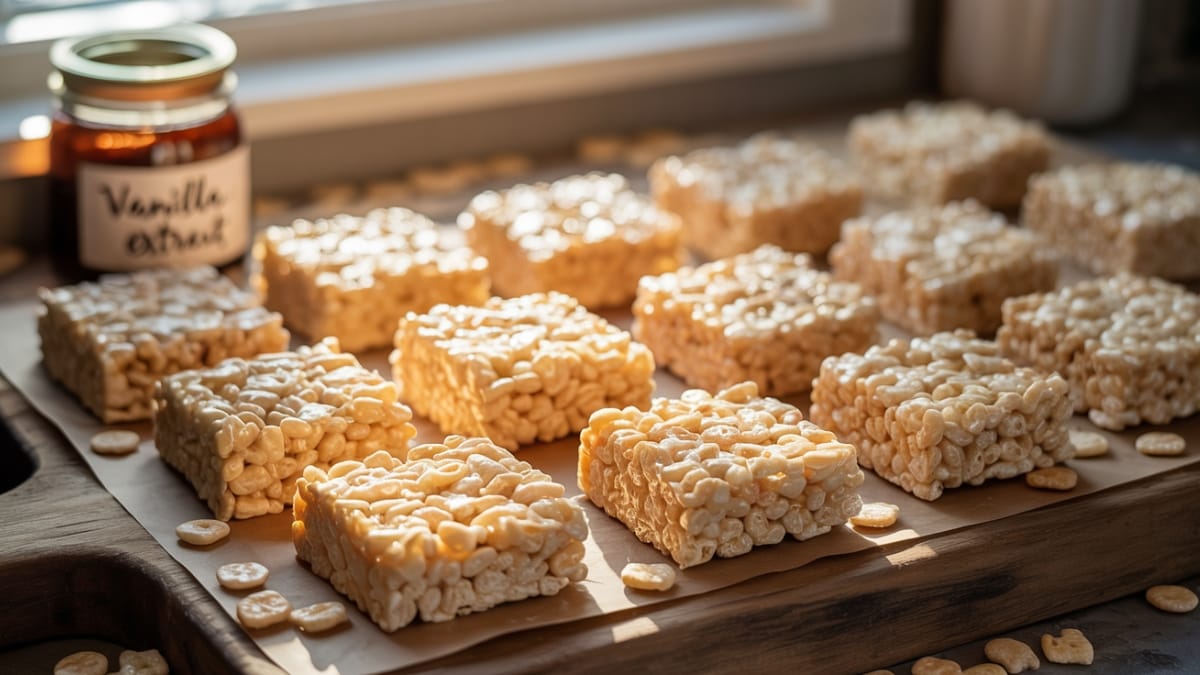
- 7-8 cups Rice Krispies cereal or any crispy rice cereal
- Optional: 1/4 cup sprinkles for a festive touch
Instructions
- Prepare your pan by lining it with parchment paper and lightly spraying with cooking spray. This prevents sticking and makes for easy removal.
- Melt the butter in a large pot or Dutch oven over medium-low heat until completely melted. Watch carefully to prevent browning.
- Add most of the marshmallows (except the reserved 2 cups) to the melted butter and reduce heat to low. Stir constantly until marshmallows are almost completely melted with just a few small lumps remaining.
- Remove from heat and immediately stir in the vanilla extract and salt. The residual heat will continue melting the marshmallows while these ingredients enhance the flavor.
- Add the Rice Krispies cereal to the marshmallow mixture and gently fold until just combined. Don’t overmix or compress the cereal, as this will result in dense treats.
- Fold in the reserved marshmallows (and sprinkles if using) while the mixture is still warm but not hot. These will create pockets of extra gooey goodness throughout your treats.
- Transfer the mixture to your prepared pan and gently press into an even layer using a piece of parchment paper or buttered hands. Press just enough to even out the surface without compacting.
- Let cool completely at room temperature for about 30 minutes before cutting into squares with a sharp knife.
Notes
- For extra gooey treats, use the full 16 oz of marshmallows but slightly less cereal (around 7 cups).
- The reserved marshmallows create those irresistible pillowy pockets – don’t skip this step!
- Fresh marshmallows make a difference; older ones can yield harder treats.
- Working quickly is key – the marshmallow mixture starts setting as it cools.
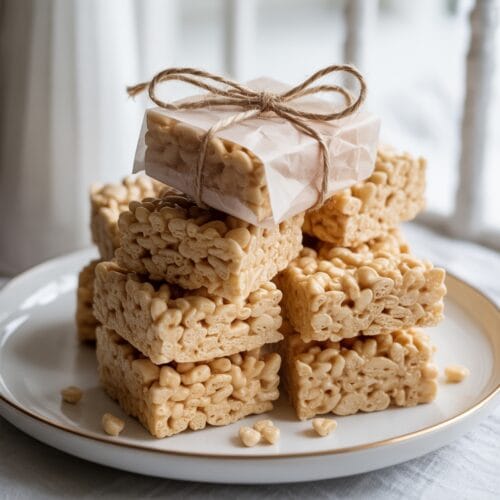
- Store in an airtight container at room temperature with parchment paper between layers for up to 3 days.
Calories & Nutritional Info
- Calories: Approximately 150-175 calories per square (based on 16 servings)
- Primarily carbohydrates from sugars and cereal
- Contains dairy (butter)
- Generally gluten-free (verify cereal is certified gluten-free if needed)
- No eggs or nuts in base recipe
Common Mistakes to Avoid
- Overheating the marshmallows: This creates tough, hard treats. Melt them just until mostly smooth with a few remaining lumps.
- Using high heat: Always use low to medium-low heat to prevent scorching the butter or marshmallows.
- Compressing too firmly: The harder you press, the denser and tougher your treats will become. A gentle touch is key!
- Measuring inaccurately: Too much cereal creates dry, crumbly treats; too little makes them too sticky to handle.
- Skipping the parchment: Without it, removal becomes a frustrating, sticky mess.
Alternatives & Substitutions
- Dietary variations: Use vegan butter and marshmallows for a dairy-free/vegan version.
- Cereal options: Try Cocoa Krispies, Fruity Pebbles, or Cinnamon Toast Crunch for flavor variations.
- Flavor enhancers: Add 1/2 teaspoon of cinnamon, 1-2 tablespoons of cocoa powder, or replace vanilla with almond extract.
- Mix-ins: Fold in up to 1/2 cup of mini chocolate chips, chopped dried fruit, or toasted coconut after the mixture has cooled slightly.
- Brown butter option: For a nutty, caramel flavor, brown the butter before adding marshmallows (but watch carefully to prevent burning).
FAQs
Why did my Rice Krispie treats turn out hard?
The most common causes are overheating the marshmallow mixture, pressing too firmly when shaping, or using too much cereal. Remember to remove the mixture from heat while a few marshmallow lumps remain, use a gentle touch when pressing, and follow the recipe’s cereal-to-marshmallow ratio.
Can I make Rice Krispie treats ahead of time?
Yes! They’re best within 24 hours but stay delicious for up to 3 days when stored in an airtight container at room temperature. If you need to make them further in advance, you can freeze them for up to 6 weeks wrapped tightly in plastic wrap and foil.
Why did my treats stick to everything?
The marshmallow mixture is naturally sticky. Always line your pan with parchment paper and spray your utensils with cooking spray. When pressing the mixture into the pan, use a piece of parchment paper or butter your hands to prevent sticking.
How do I know when the marshmallows are melted properly?
The perfect stage is when the marshmallows are mostly melted but still have a few small lumps. If you wait until they’re completely smooth, you’ve likely overheated them, which can lead to hard treats.
Can I double this recipe?
Absolutely! Simply double all ingredients and use a larger pot for melting. Press the mixture into a 9×13 inch pan for standard thickness or use a rimmed baking sheet for thinner treats.
Final Thoughts
These Homemade Rice Krispie Treats prove that sometimes the simplest recipes bring the most joy. There’s something magical about that first bite – the way it yields with just the right resistance, releasing buttery, vanilla-scented sweetness. Whether you’re making them for nostalgic reasons or introducing a new generation to this classic, they’re guaranteed to bring smiles. Now go create some memories!


