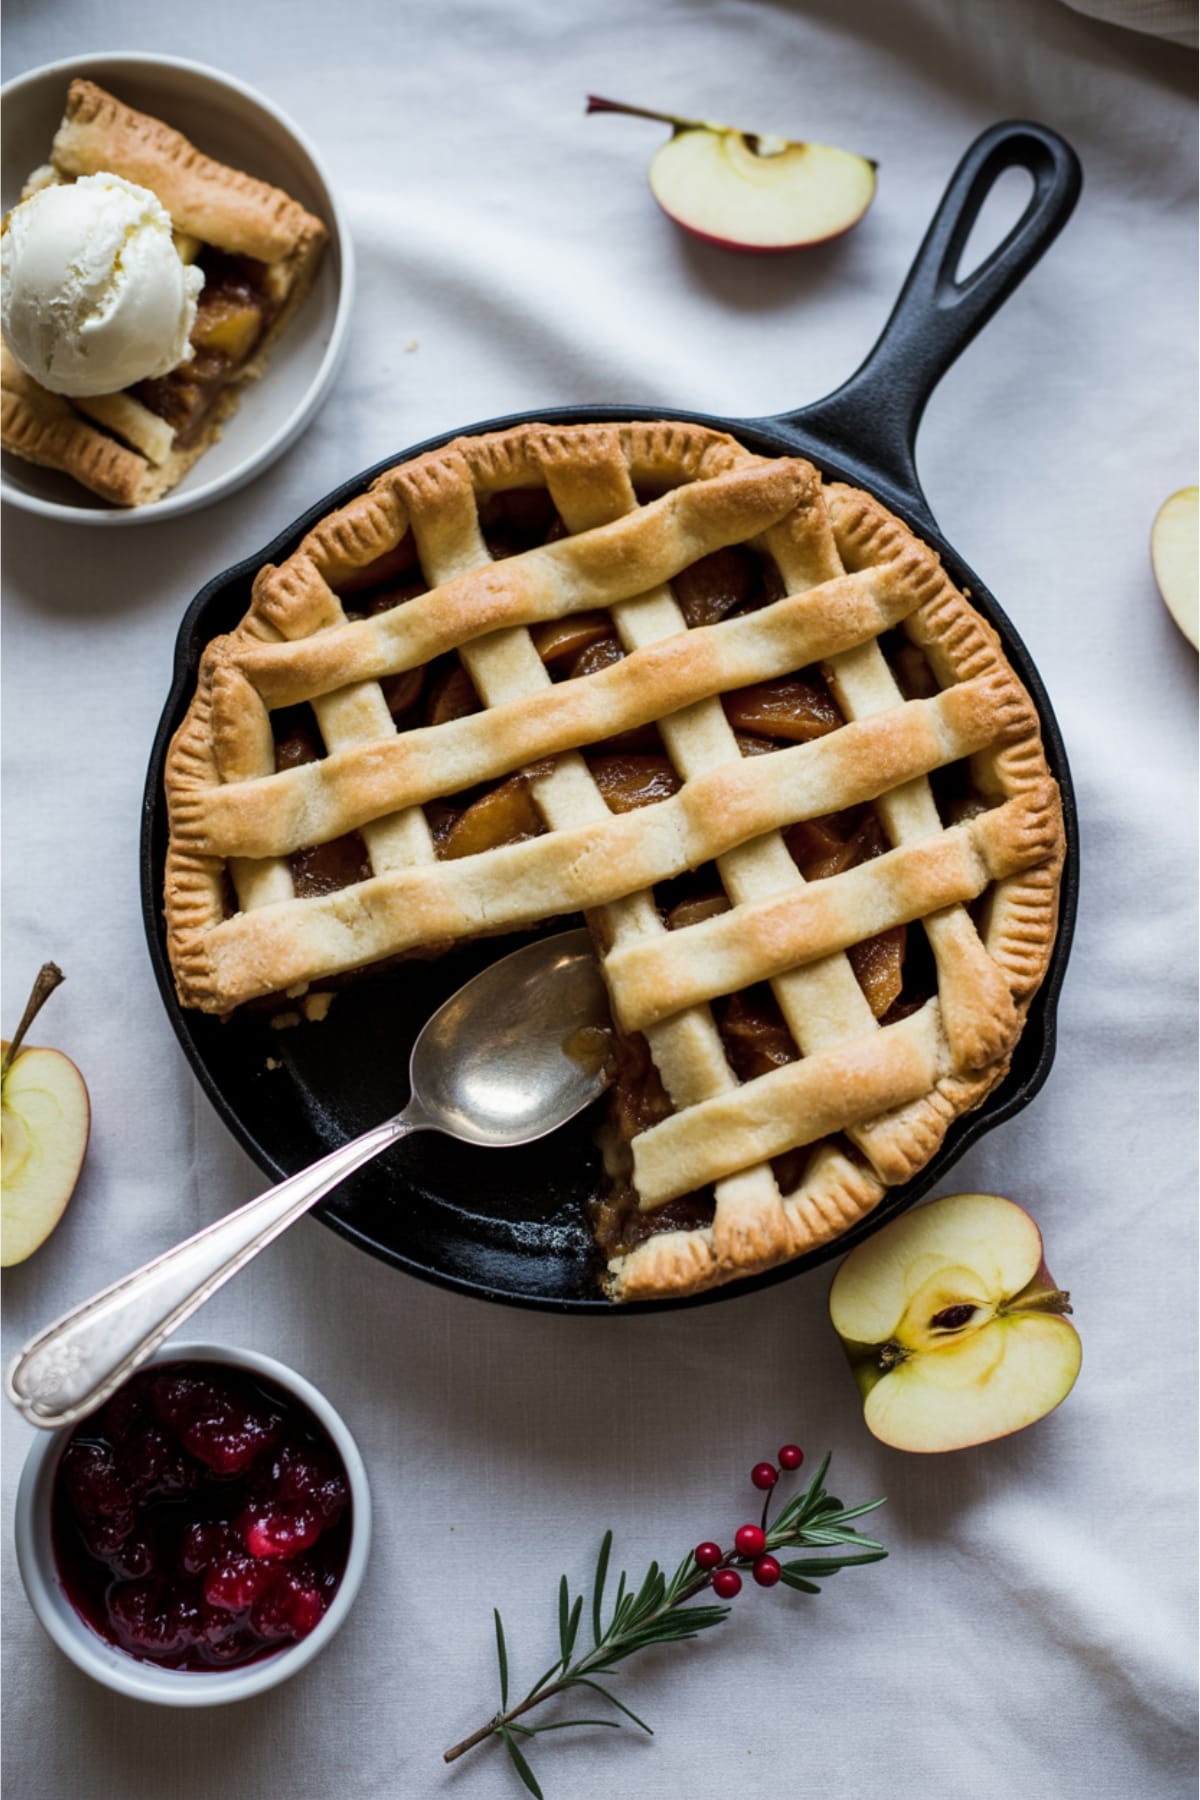
Imagine the aroma of cinnamon-spiced apples bubbling beneath a golden, flaky crust – all created in one magnificent cast iron skillet. Skillet Apple Pie transforms America’s favorite dessert into something even more magical by infusing it with rustic charm and caramelized goodness. This isn’t just pie; it’s a warm hug on a plate that brings together convenience and indulgence in the most delightful way.
Why This Recipe is Awesome
What makes Skillet Apple Pie truly special is how the cast iron works its magic on the crust. The heat distribution creates a perfectly crisp, caramelized bottom layer that simply can’t be achieved in a standard pie dish.
The skillet also doubles as both baking vessel and serving dish, meaning fewer items to wash afterward! This recipe strikes that perfect balance between homemade authenticity and practical simplicity. The apples develop an incredible depth of flavor as they cook directly in the skillet before the crust is added.
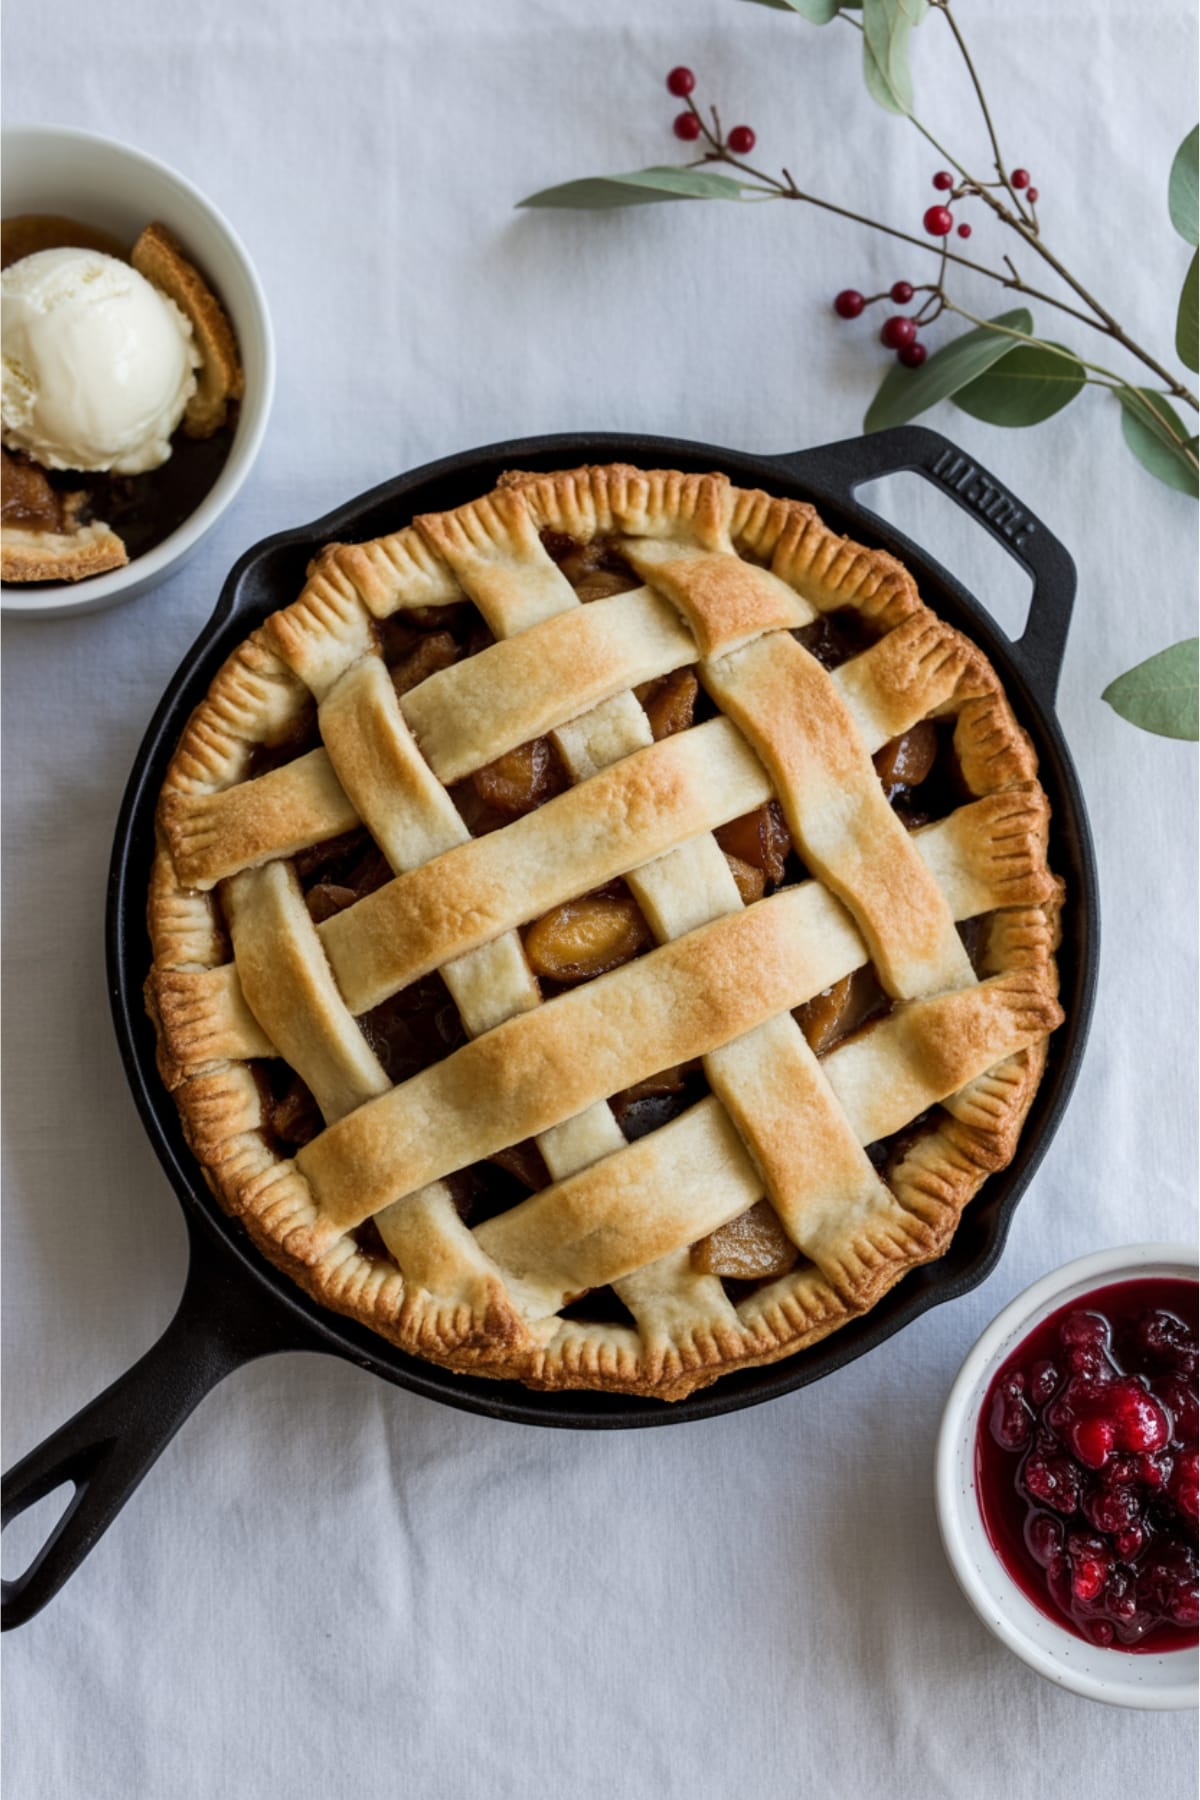
And let’s be honest – there’s something undeniably appealing about presenting a bubbling, golden pie right in the skillet at the table. It creates an instant rustic, farmhouse vibe that elevates any gathering.
Equipment needed: 10-inch cast iron skillet, mixing bowls, measuring cups, pastry cutter, rolling pin
Skillet Apple Pie
Ingredients
- 2 refrigerated pie crusts store-bought or homemade
- 6 medium apples preferably a mix of Granny Smith and Honeycrisp, peeled, cored and sliced ¼-inch thick
- ¾ cup granulated sugar
- 2 tablespoons all-purpose flour
- 1 teaspoon ground cinnamon
- ¼ teaspoon ground nutmeg
- ¼ teaspoon salt
- 1 tablespoon lemon juice
- 4 tablespoons unsalted butter
- ¼ cup brown sugar
- 1 egg for egg wash
- 1 tablespoon coarse sugar for topping optional
Instructions
- Prepare your crust: Remove pie crusts from refrigerator about 15 minutes before using to soften slightly. Preheat your oven to 375°F (190°C).
- Mix apple filling: In a large bowl, combine the sliced apples, granulated sugar, flour, cinnamon, nutmeg, salt, and lemon juice. Toss gently until apples are evenly coated.
- Prepare the skillet base: Melt 4 tablespoons of butter in your cast iron skillet over medium heat. Add brown sugar and stir until dissolved, about 2 minutes, creating a caramel-like mixture.
- Cook the apples: Remove skillet from heat and carefully arrange apple mixture in the skillet on top of the caramel mixture. The apples will be piled high but will cook down.
- Add bottom crust: Roll out one pie crust and carefully place it over the apples, tucking the edges down between the apples and the side of the skillet. Cut 4-5 small slits in the center for steam to escape.
- Create egg wash: Beat the egg with 1 tablespoon of water to create an egg wash. Brush the top crust with the egg wash and sprinkle with coarse sugar if using.
- Bake to golden perfection: Place the skillet on a baking sheet (to catch any potential drips) and bake for 40-45 minutes until the crust is golden brown and the filling is bubbling through the slits.
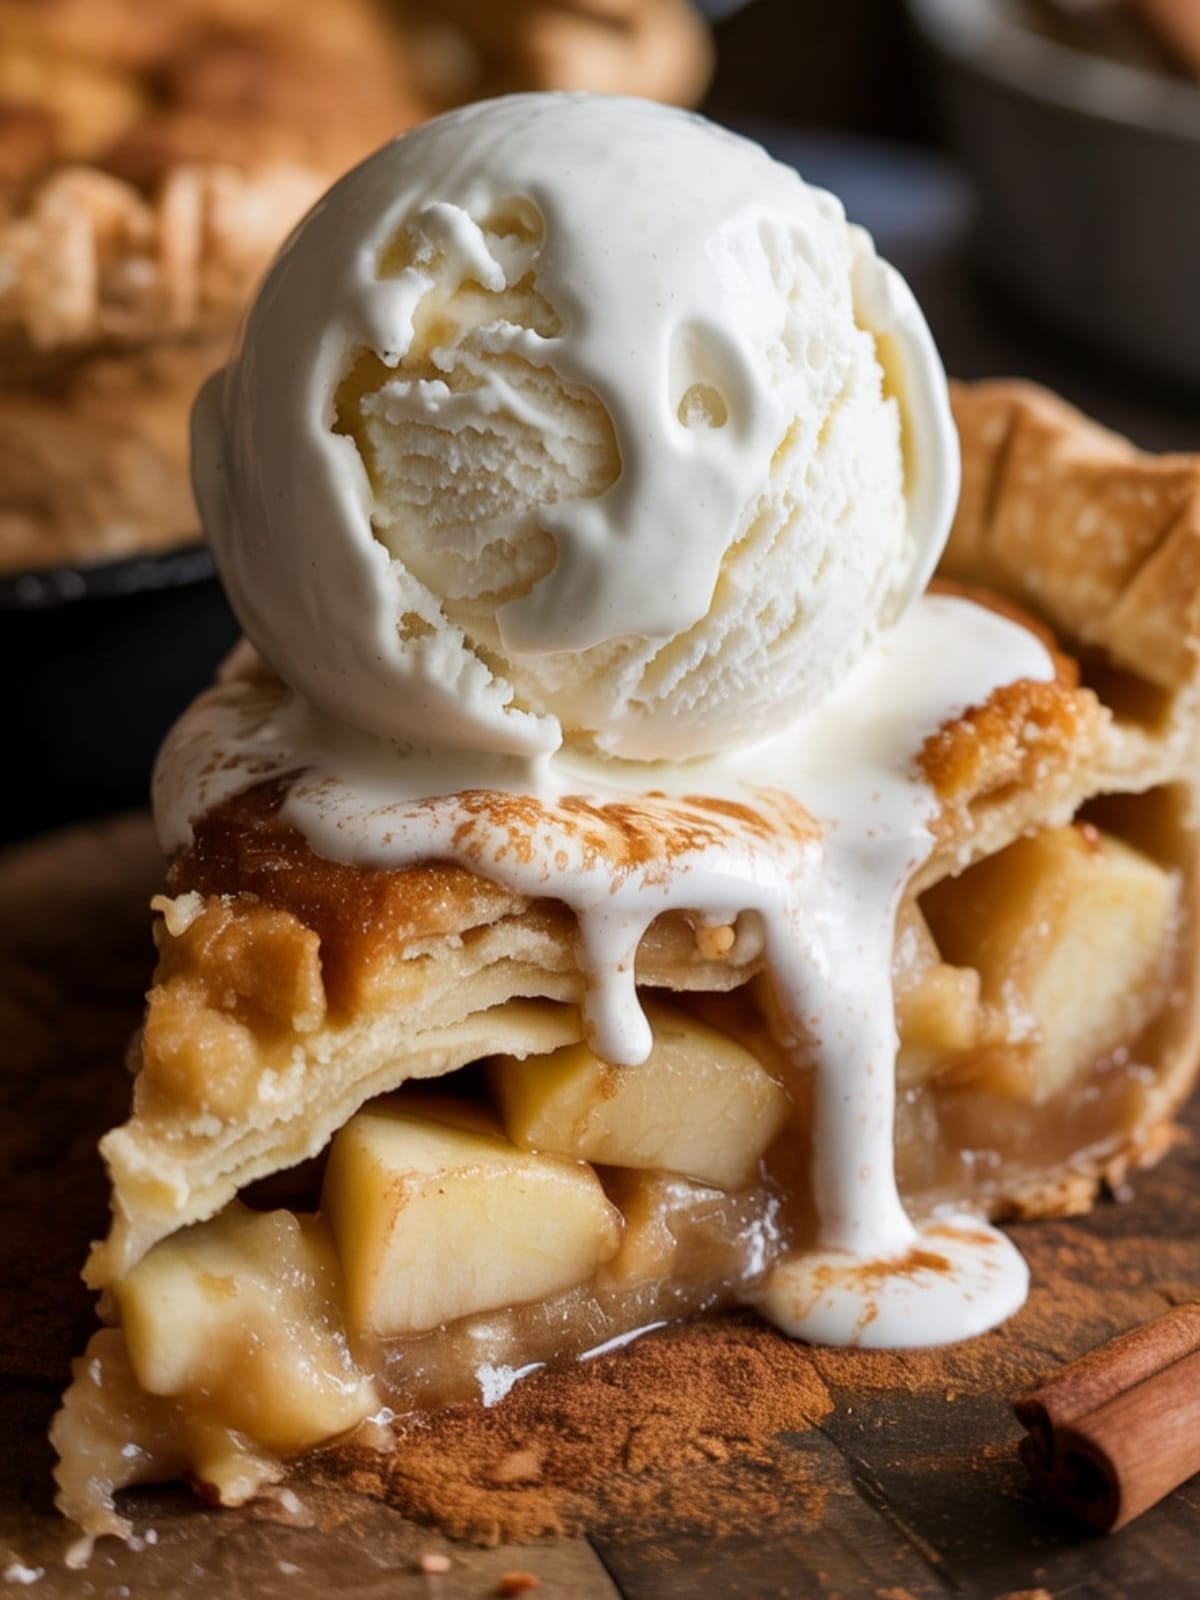
- Cool before serving: Allow the pie to cool for at least 30 minutes before serving to let the filling set. Serve warm with vanilla ice cream for the ultimate experience.
Notes
- For the flakiest crust, make sure all your ingredients (especially butter) stay cold until baking.
- If you don’t have a cast iron skillet, you can use any oven-safe skillet with high sides.
- The caramel base will harden if the skillet cools too much before adding the apples, so work efficiently.
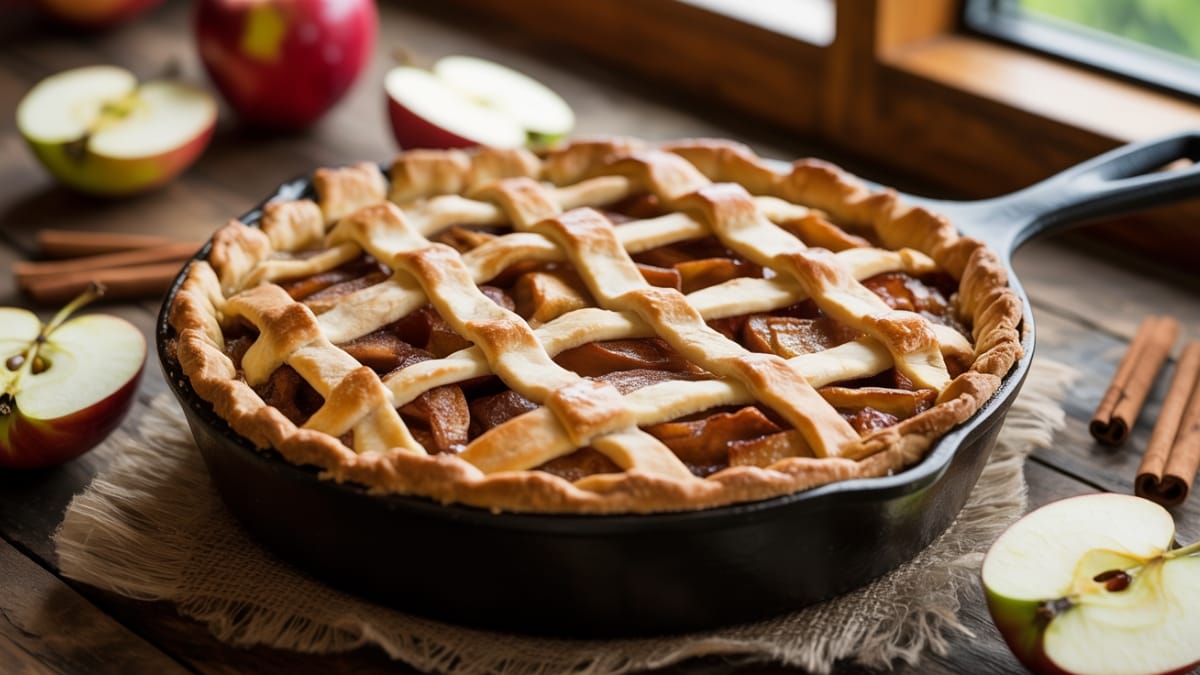
- For a decorative top, you can create a lattice pattern with the second crust instead of a solid top.
- This pie actually tastes even better the next day as the flavors meld together.
Calories & Nutritional Info
- Calories: Approximately 380 per slice
- Carbohydrates: 58g
- Fat: 16g
- Protein: 3g
- Fiber: 3g
- Contains: Gluten, dairy (butter)
Common Mistakes to Avoid
- Not preheating the skillet properly: The magic of skillet pie comes from that initial heat reaction with the crust. Make sure your caramel base is properly melted before adding apples.
- Slicing apples too thick: Thick apple slices won’t cook through and will leave you with a gap between filling and crust. Aim for ¼-inch uniform slices.
- Skipping the baking sheet underneath: Apple pies often bubble over during baking. Save yourself oven cleanup by placing a baking sheet below.
- Serving immediately after baking: Hot pie filling is essentially liquid and needs time to set. Patience yields perfect slices.
- Forgetting to adjust seasonings for apple variety: Tart apples might need more sugar, while sweeter varieties might need more lemon juice for balance.
Alternatives & Substitutions

- Apple varieties: While the Granny Smith/Honeycrisp combination provides perfect balance, you can also use Braeburn, Jonagold, or Pink Lady apples.
- Gluten-free option: Substitute all-purpose flour with a gluten-free baking blend and use gluten-free pie crusts.
- Vegan adaptation: Use plant-based butter and prepared vegan pie crust. Brush with plant milk instead of egg wash.
- Spice alternatives: Add ¼ teaspoon cardamom or ginger for a different flavor profile.
- Lower sugar version: Reduce sugars by ¼ cup and add a pinch more cinnamon to emphasize the spice notes.
- Crumble topping: Instead of a top crust, make a streusel topping with butter, flour, oats, and brown sugar for a Dutch apple pie variation.
FAQs
Can I make this skillet apple pie ahead of time?
Absolutely! You can prepare the entire pie up to 24 hours in advance and refrigerate it unbaked. When ready to serve, simply bake it straight from the refrigerator, adding about 10 extra minutes to the baking time. The flavors actually develop wonderfully overnight.
Why is my crust getting too dark before the filling is done?
This is a common issue with longer-baking pies. If you notice the crust browning too quickly, simply tent the edges (or the entire top) with aluminum foil to prevent over-browning while allowing the filling to continue cooking.
Can I freeze this skillet apple pie?
Yes! You can freeze it either before or after baking. For unbaked: freeze solid in the skillet, then wrap tightly and bake from frozen, adding 15-20 minutes to the baking time. For baked: cool completely, wrap well, and freeze. Thaw overnight in the refrigerator and warm in a 300°F oven before serving.
What makes a skillet pie different from a regular pie?
The cast iron skillet conducts heat differently than a standard pie plate, creating superior caramelization and a crispier bottom crust. The skillet also allows you to pre-cook the filling right in the baking vessel, developing deeper flavors before the crust is added.
Do I need to season my cast iron skillet before making this pie?
If your skillet is well-seasoned, you’re good to go. If it’s new or recently restored, follow the manufacturer’s instructions for seasoning it first. The butter and sugar base actually helps maintain your skillet’s seasoning, making this pie a win-win for both your taste buds and your cookware!
Final Thoughts
Skillet Apple Pie brings together simplicity and indulgence in the most delightful way. There’s something magical about serving dessert straight from the skillet – it creates an instant moment of warmth and togetherness. Whether you’re a seasoned baker or trying your hand at pie for the first time, this approachable method delivers amazing results that will have everyone asking for seconds.


