Let me tell you about the burger that nearly caused a family feud at my last backyard cookout. I’d been experimenting with my grandmother’s old recipe box and discovered her secret beef and onion burger recipe – the one that apparently made my grandfather propose back in 1952. When I served these at our annual family gathering, my uncle (who considers himself the family grill master) took one bite and immediately demanded to know what I’d done differently. The juicy, flavor-packed patties with perfectly caramelized onions had dethroned his decades-long burger supremacy! These aren’t just any burgers – they’re the kind that make people close their eyes when they take the first bite, the kind that will have your neighbors “casually” dropping by whenever they smell your grill firing up. Ready to create your own burger legend? Let’s dive in.
Why These Beef and Onion Burgers Will Rock Your World
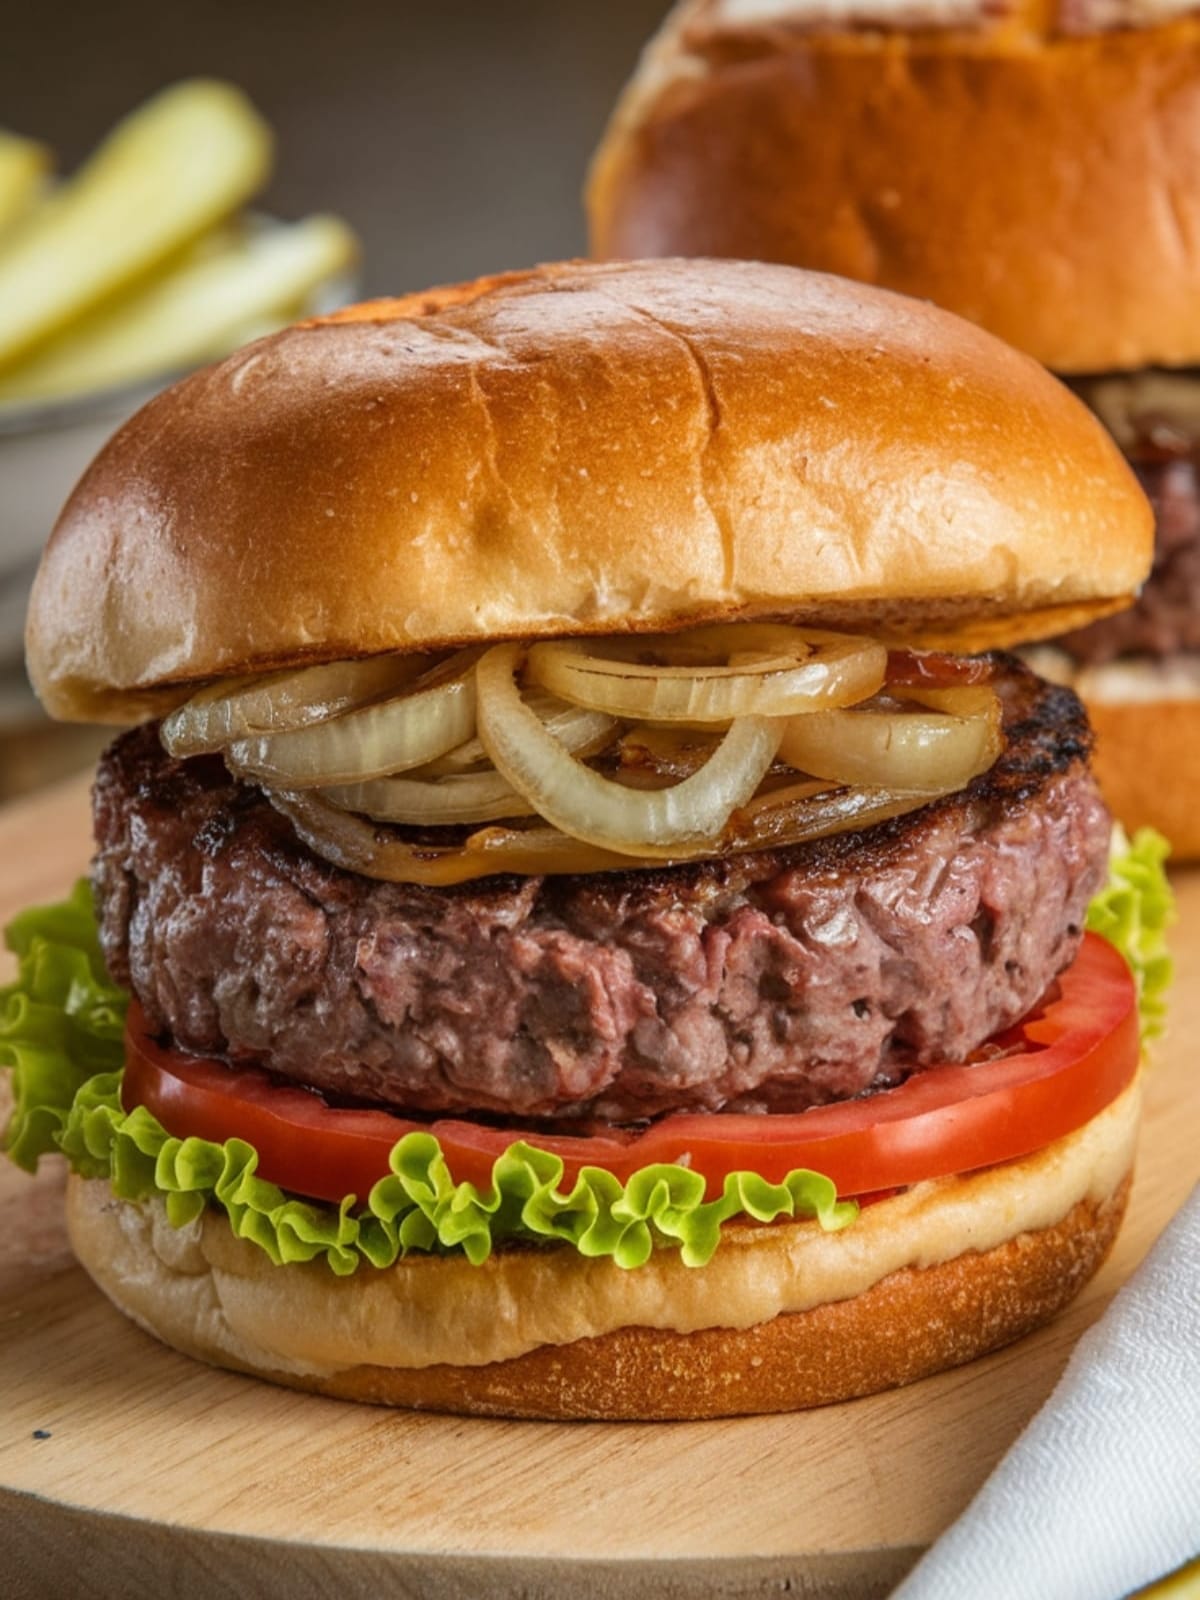
These aren’t those dried-out, flavorless hockey pucks that give burgers a bad name. These beef and onion burgers are incredibly juicy with a perfect balance of savory meat and sweet caramelized onions in every bite. The secret is in the preparation – we’re not just topping the burger with onions, we’re incorporating them right into the patty for maximum flavor infusion. Plus, I’ll show you the simple technique that ensures your burgers stay tender and juicy instead of tough and dry (hint: it’s all about how you handle the meat). Whether you’re cooking on a backyard grill, stovetop skillet, or even in the oven, these burgers deliver restaurant-quality results with minimal effort. They’re simple enough for a quick weeknight dinner but impressive enough for your most discerning guests.
Beef and Onion Burgers
Equipment
- Skillet or grill
- Mixing bowl
Ingredients
For the burger patties
- 1.5 pounds ground beef (80/20 lean-to-fat ratio)
- 1 medium yellow onion, divided use
- 2 cloves garlic, minced
- 1 tablespoon Worcestershire sauce
- 1 teaspoon Dijon mustard
- 1 teaspoon kosher salt
- 1/2 teaspoon freshly ground black pepper
- 1 tablespoon olive oil (for cooking)
For the caramelized onion topping
- 1 large yellow onion, thinly sliced
- 1 tablespoon butter
- 1 teaspoon brown sugar (optional)
- Pinch of salt
For serving
- 4 hamburger buns, preferably brioche
- 4 slices of cheese (cheddar, American, or Swiss work great)
- Lettuce leaves
- Sliced tomato
- Sliced pickles
- Condiments of choice (ketchup, mustard, mayo, etc.)
Instructions
Step 1: Prepare the Onions (Two Ways)
- For the patty mixture: Take half of the medium onion and grate it using the large holes of a box grater. This releases the onion's juices and flavor while keeping a finer texture that incorporates well into the meat.
- Set aside the grated onion in a large mixing bowl.
- For the caramelized onion topping: Thinly slice the remaining half of the medium onion and the entire large onion.
- Heat butter in a skillet over medium-low heat until melted.
- Add all the sliced onions and a pinch of salt. Cook slowly, stirring occasionally, for about 15-20 minutes until they turn golden brown and soft. For extra sweetness, add the optional brown sugar during the last 5 minutes of cooking.
- Transfer caramelized onions to a small bowl and set aside.
Step 2: Prepare the Burger Patties
- To the bowl with the grated onion, add the ground beef, minced garlic, Worcestershire sauce, Dijon mustard, salt, and pepper.
- Gently mix with your hands until just combined. The key word is GENTLY – overworking the meat will result in tough burgers!
- Divide the mixture into 4 equal portions and shape into patties about 4-5 inches wide and 3/4 inch thick. Remember that burgers shrink when cooking, so make them slightly larger than your buns.
- Press your thumb into the center of each patty to create a slight dimple. This prevents the burger from puffing up in the middle during cooking.
- If you have time, let the patties rest in the refrigerator for 15-30 minutes. This helps them hold together better during cooking.
Step 3: Cook the Burgers
For stovetop cooking:
- Heat olive oil in a large skillet over medium-high heat until shimmering.
- Place the patties in the skillet without overcrowding (cook in batches if needed).
- Cook for 3-4 minutes on the first side until a nice crust forms.
- Flip once and cook for another 3-4 minutes for medium doneness (internal temperature of 160°F/71°C).
- Add cheese during the last minute of cooking and cover briefly to melt.
For grilling:
- Preheat your grill to medium-high heat (about 400-450°F).
- Lightly oil the grates to prevent sticking.
- Grill the patties for 4-5 minutes on the first side.
- Flip once and cook for another 3-4 minutes for medium doneness.
- Add cheese during the last minute of cooking and close the grill lid to melt.
Step 4: Assemble and Serve
- While the cheese is melting, lightly toast the burger buns on the grill or in a toaster.
- Build your burger: Start with the bottom bun, add lettuce if using (this creates a moisture barrier that helps prevent a soggy bun), then the cheese-topped patty.
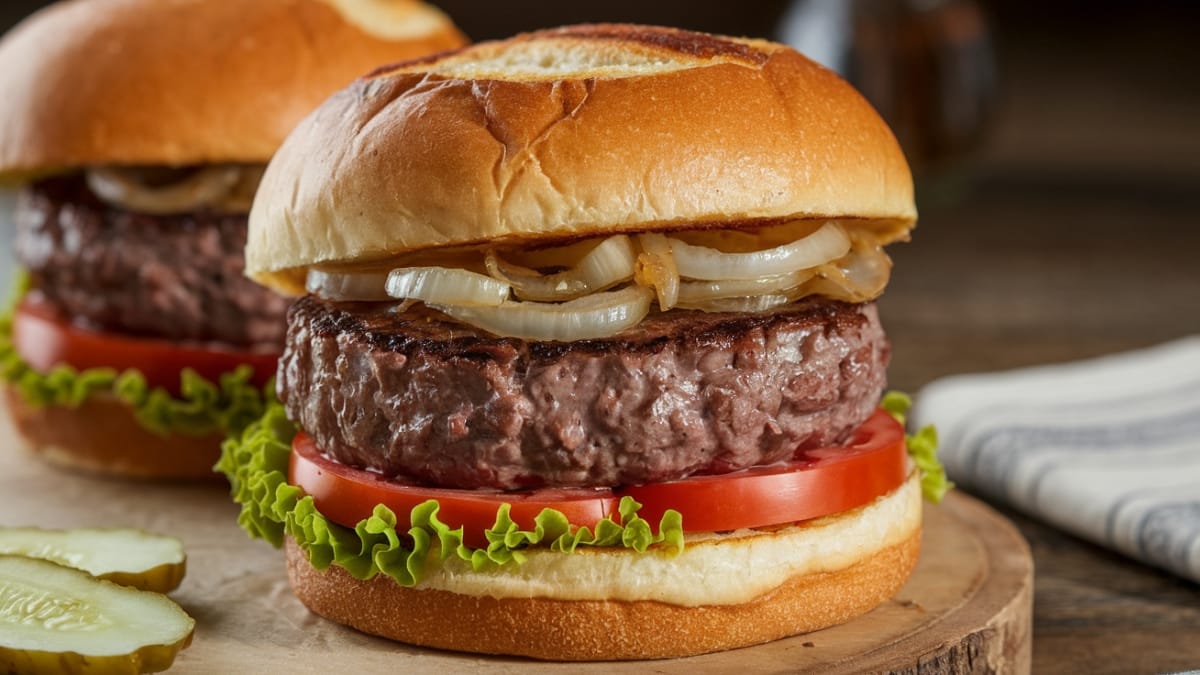
- Top each burger with a generous portion of the caramelized onions.
- Add tomato slices, pickles, and condiments of your choice.
- Crown with the top bun and serve immediately while hot.
- Prepare for compliments and requests for the recipe!
Notes
- Meat matters: The 80/20 lean-to-fat ratio is ideal for juicy burgers. Leaner meat tends to dry out more easily.
- Grating technique: Grating half the onion directly incorporates the onion’s moisture and flavor throughout the patty, while the sliced caramelized onions add a sweet contrast on top.
- Temperature tip: For food safety, beef should reach an internal temperature of 160°F (71°C). Use a meat thermometer to be sure.
- Make ahead option: The patties can be formed up to 24 hours ahead and refrigerated, covered. The caramelized onions can be made up to 3 days ahead and reheated before serving.
- Bun selection: A slightly sturdy bun like brioche stands up better to the juicy patty and toppings. Toast it lightly to prevent sogginess.
Common Mistakes to Avoid
- Overworking the meat. This is the number one burger killer! Mix the ingredients just until combined – aggressive mixing or kneading creates tough, dense burgers. Treat your meat mixture like it’s delicate.
- Pressing down on burgers while cooking. Every time you press with a spatula, you’re squeezing out those precious juices. Leave the patties alone except for that one essential flip!
- Skipping the dimple in the center. Without that slight depression in the middle, burgers tend to puff up into a dome shape while cooking, making them difficult to top and bite into.
Variations & Customizations
- Blue Cheese Stuffed Version: Instead of topping with cheese, create a pocket in each patty and stuff with 1-2 tablespoons of crumbled blue cheese before cooking.
- Mushroom Lover’s Edition: Add 8 ounces of finely chopped mushrooms (sautéed until their moisture evaporates) to the caramelized onions for an umami flavor explosion.
- Spicy Southwest Style: Add 1 teaspoon of cumin, 1/2 teaspoon of smoked paprika, and 1/4 teaspoon of cayenne to the meat mixture. Top with pepper jack cheese and sliced jalapeños.
FAQs
Can I use pre-made patties to save time?
You can, but you’ll miss out on the integrated onion flavor that makes these burgers special. If you must use pre-made patties, at least add the Worcestershire sauce and top with the caramelized onions.
What’s the best way to tell when burgers are done without cutting them open?
A meat thermometer is your best friend here – it should read 160°F (71°C) for beef. If you don’t have one, pay attention to the juices. When they run clear rather than pink, your burger is likely done.
Can I use ground turkey or chicken instead of beef?
Absolutely! Poultry tends to be drier, so add 1-2 tablespoons of olive oil to the mixture and be extra careful not to overcook. Ground chicken or turkey should reach 165°F (74°C).
Final Thoughts
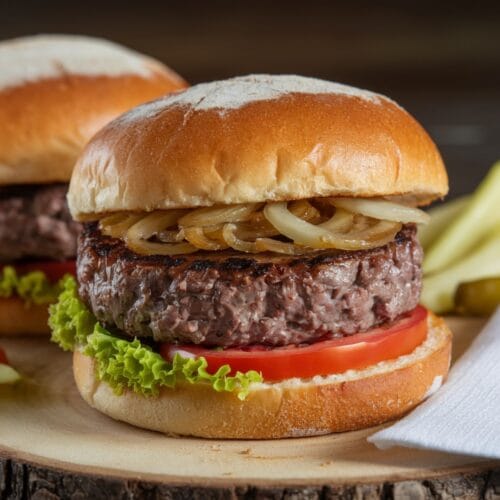
There’s something deeply satisfying about biting into a perfectly crafted burger – the way the flavors and textures come together in one gloriously messy, delicious package. These beef and onion burgers take the classic to new heights with the double-onion approach that infuses flavor throughout while creating that irresistible caramelized topping. Whether you’re hosting a backyard barbecue, cooking a casual family dinner, or just treating yourself after a long week, these burgers deliver maximum satisfaction with minimal fuss. The only downside? Once you serve these, standard burgers just won’t cut it anymore. You’ve been warned!


