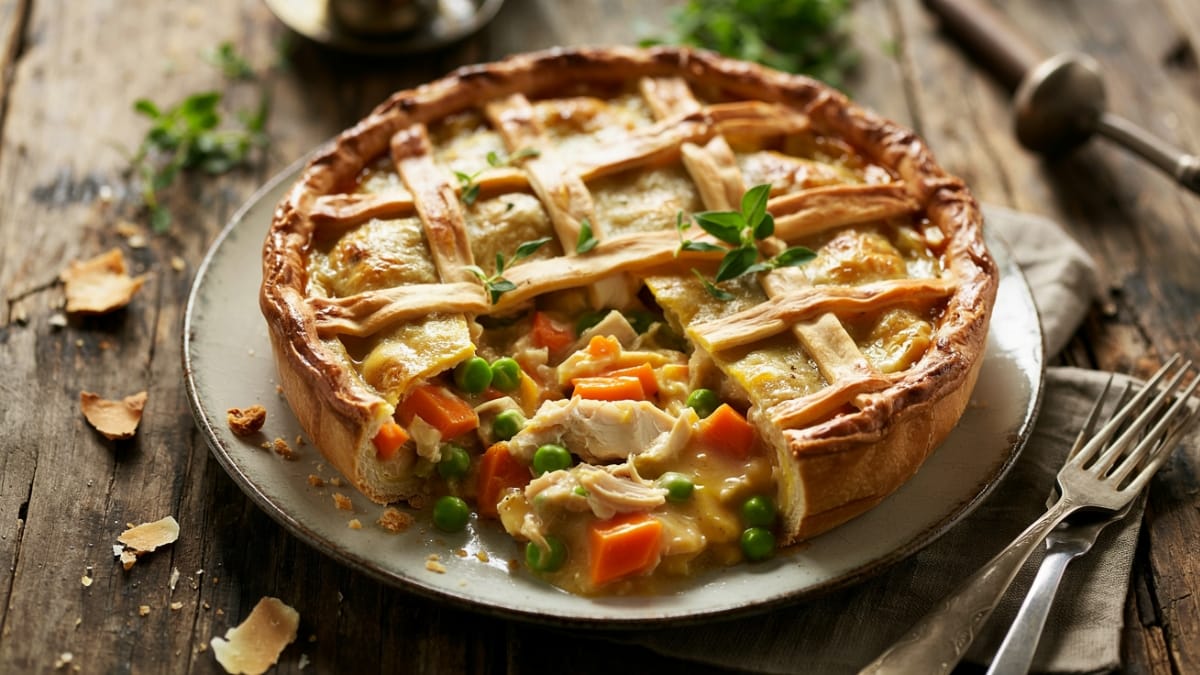
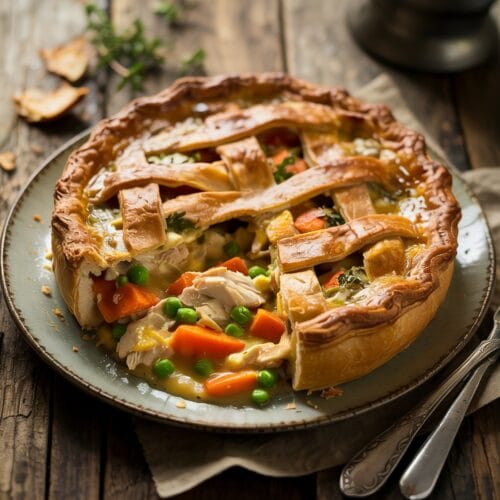
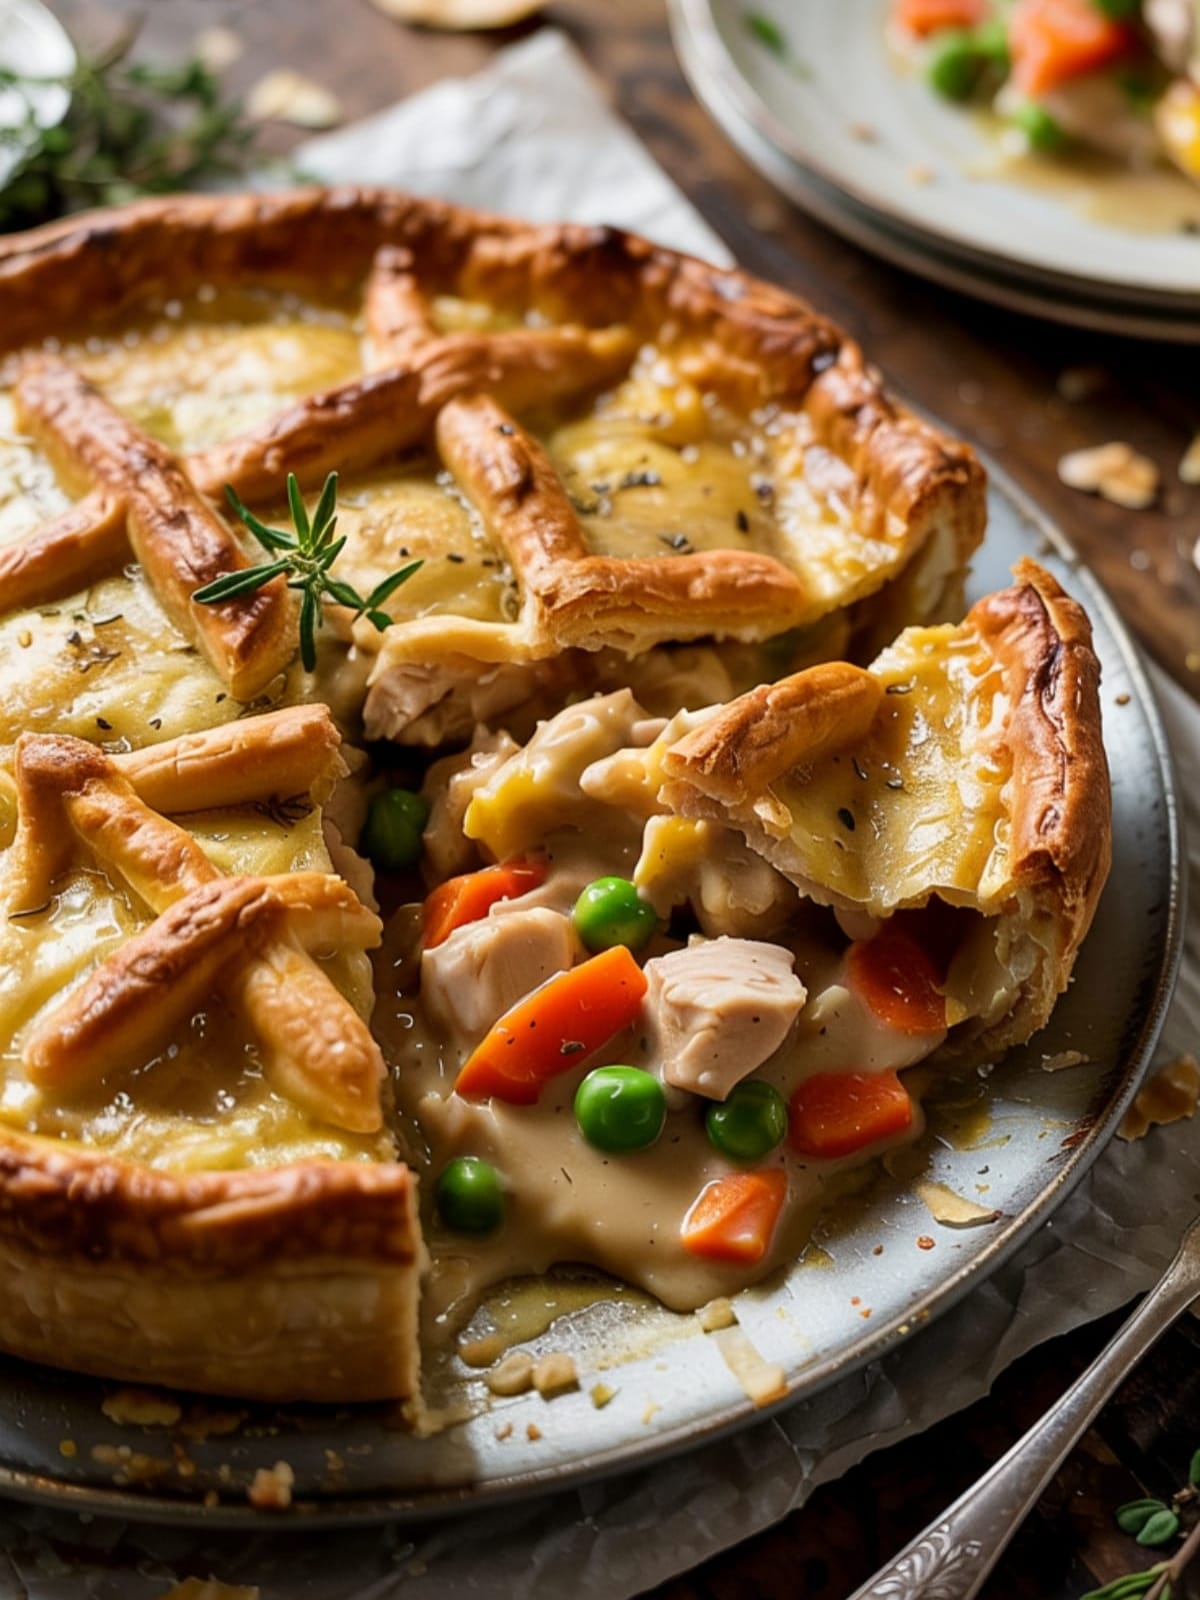
Let’s be honest – is there anything that screams “comfort food” louder than breaking through a golden, flaky crust to reveal a steaming filling of creamy chicken and vegetables? I think not. Chicken pot pie is basically a warm hug in food form, and this homemade version is about to ruin you for all other pot pies forever.
I know what you’re thinking: “Making pot pie from scratch? In this economy? With my schedule?” But hear me out. While those freezer-section pot pies might seem convenient, they’re also sadly disappointing – with their mysteriously gummy filling and cardboard-adjacent crust. The homemade version isn’t just better; it’s playing an entirely different sport. And with a few smart shortcuts (which I’ll share because I’m not a monster), you can make this iconic comfort food without dedicating your entire day to it.
Why This Homemade Chicken Pot Pie Will Ruin All Other Pot Pies For You

First, let’s talk about that crust. Buttery, flaky layers that shatter slightly when your fork breaks through them, yet sturdy enough to hold that glorious filling. It’s the perfect balance between delicate and substantial.
Then there’s the filling – creamy but not gloppy, loaded with chunks of tender chicken and vegetables that actually taste like vegetables instead of like the color they’re supposed to be. The sauce is rich without being heavy, with hints of herbs and a subtle complexity that makes you want to scrape the dish clean.
But perhaps the best part? The smug satisfaction of putting a from-scratch pot pie on the table and watching everyone’s eyes widen as they take their first bite. That moment alone is worth the effort. Plus, this recipe is forgiving and adaptable – whether you’re cooking for picky kids or gourmet adults, you can tweak it to make everyone happy.

Chicken Pot Pie
Equipment
- 9-inch pie dish or 2-quart baking dish
- Large skillet or Dutch oven
- Rolling Pin
- Mixing bowls
- Measuring cups and spoons
- Pastry brush
- Knife and cutting board
- Food processor (optional for crust)
Ingredients
For the Crust
- 2½ cups all-purpose flour
- 1 teaspoon salt
- 1 tablespoon granulated sugar
- 1 cup 2 sticks cold unsalted butter, cubed
- ⅓ to ½ cup ice water
- 1 egg beaten (for egg wash)
For the Filling
- 3 cups cooked chicken shredded or diced (rotisserie chicken works great here!)
- 4 tablespoons unsalted butter
- 1 large onion diced
- 2 carrots peeled and diced
- 2 celery stalks diced
- 1 potato peeled and diced into ½-inch cubes (optional but delicious)
- 8 oz mushrooms sliced (optional)
- 3 cloves garlic minced
- ⅓ cup all-purpose flour
- 2 cups chicken broth
- ½ cup heavy cream or whole milk for a lighter version
- ½ cup frozen peas
- 2 tablespoons fresh thyme leaves or 1 teaspoon dried
- 1 tablespoon fresh sage chopped (or ½ teaspoon dried)
- 2 tablespoons fresh parsley chopped
- ¼ teaspoon nutmeg freshly grated if possible
- ½ teaspoon black pepper
- Salt to taste
Instructions
For the Crust
- Mix the dry ingredients. In a large bowl or food processor, combine flour, salt, and sugar. Pulse or whisk to combine.
- Cut in the butter. Add cold cubed butter to the flour mixture. Pulse in food processor or use a pastry cutter/two knives to cut the butter in until the mixture resembles coarse crumbs with some pea-sized pieces remaining. Cold butter = flaky crust, so don't let it warm up!
- Add water gradually. Drizzle in ice water, 1 tablespoon at a time, mixing until the dough just comes together. You might not need all the water! The dough should hold together when squeezed but not be sticky.
- Rest the dough. Divide the dough in half, form into disks, wrap in plastic wrap, and refrigerate for at least 30 minutes. This resting time is non-negotiable – it prevents tough crust!
For the Filling
- Create your flavor base. In a large skillet or Dutch oven, melt butter over medium heat. Add onions, carrots, celery, and potato (if using) and cook until softened, about 8 minutes. Add mushrooms (if using) and cook until they release their moisture, about 5 minutes more.
- Add aromatics. Stir in garlic and cook until fragrant, about 30 seconds. Your kitchen should smell amazing at this point!
- Make the roux. Sprinkle flour over the vegetables and stir constantly for 1-2 minutes to cook out the raw flour taste. This step is crucial for a smooth, not gloppy, sauce.
- Create the sauce. Gradually add chicken broth, stirring constantly to prevent lumps. Bring to a simmer and cook until the sauce thickens enough to coat the back of a spoon, about 3-5 minutes.
- Enrich and season. Stir in the heavy cream, followed by the cooked chicken, frozen peas, thyme, sage, parsley, nutmeg, pepper, and salt to taste. The filling should be moist but not soupy – it will thicken more as it bakes.
- Cool slightly. Remove from heat and let cool for about 10 minutes. Hot filling = soggy bottom crust. Nobody wants that!
Assembly and Baking
- Preheat your oven to 375°F (190°C).
- Roll out the crusts. On a floured surface, roll out one disk of dough to about 12 inches in diameter (slightly larger than your pie dish). Transfer to your pie dish, pressing gently into the bottom and sides with about ½ inch hanging over the edge.
- Add filling. Pour the cooled filling into the crust-lined dish, mounding slightly in the center.
- Add the top crust. Roll out the second disk of dough to the same size. Place it over the filling. Trim excess dough, then fold the edges of the top crust under the edges of the bottom crust and crimp to seal. Cut 4-5 slits in the top to allow steam to escape. Alternatively, get creative with decorative cutouts using extra dough!
- Apply egg wash. Brush the top crust with beaten egg for that gorgeous golden brown finish. Sprinkle with flaky salt if you're feeling fancy.
- Bake to golden perfection. Place the pie on a baking sheet (to catch any drips) and bake for 45-55 minutes, until the crust is deeply golden and the filling is bubbling through the slits. If the crust starts browning too quickly, tent with foil.
- Rest before serving. This is the hardest part! Allow the pie to rest for 15 minutes before cutting. This helps the filling set and prevents a flood of sauce when you cut into it.
Notes
- Shortcut option: Not up for making crust from scratch? Use refrigerated pie crusts! They’re not quite as good as homemade, but still leagues better than frozen pot pies.
- For extra flavor, add a splash of white wine or a squeeze of lemon juice to the filling.
- Make-ahead magic: The filling can be made 1-2 days ahead and refrigerated. The dough can be made up to 3 days ahead, or frozen for up to 3 months.
- For a prettier top crust, brush with egg wash and sprinkle with flaky sea salt and fresh thyme leaves before baking.
Common Mistakes to Avoid
- Using hot filling. This is the number one reason for soggy bottom crust! Let your filling cool at least slightly before adding it to the pie.
- Skimping on the seasoning. Taste your filling before it goes into the crust. It should taste slightly saltier than you think it should, as the crust will dilute the flavor.
- Overworking the dough. The more you handle pie dough, the tougher it gets. Mix just until combined, and handle as little as possible for the flakiest results.
- Cutting into it too soon. I know it’s torture, but let the pie rest! Cut it too soon and you’ll have pot pie soup instead of nice, clean slices.
Variations & Customizations
- Turkey Pot Pie: Substitute leftover turkey for the chicken. Perfect for post-Thanksgiving comfort food!
- Veggie Lovers: Skip the chicken and double up on vegetables. Add corn, green beans, sweet potatoes, or whatever vegetables you love. Use vegetable broth instead of chicken broth.
- Biscuit Topped: Instead of a top crust, top with biscuit dough for a cobbler-like effect. Reduce baking time to about 30-35 minutes.
FAQs
Can I freeze chicken pot pie?
Absolutely! You have two options: freeze it before or after baking. For unbaked pies, assemble completely (except for the egg wash), then wrap tightly in plastic wrap and foil. Freeze for up to 3 months. When ready to bake, brush with egg wash and bake directly from frozen, adding about 15-20 minutes to the baking time. For baked pies, cool completely, then wrap and freeze. Reheat in a 350°F oven until heated through (about 30 minutes). Individual pot pies also freeze beautifully and make perfect single-serving meals for busy weeknights!
My bottom crust always turns out soggy. What am I doing wrong?
The dreaded soggy bottom! Several tricks can help: First, make sure your filling is cooled before adding it to the crust. Second, try blind baking the bottom crust for about 10 minutes before adding the filling. Third, place your pie dish on a preheated baking sheet or pizza stone – the extra heat from below helps crisp up the bottom. Finally, consider brushing the bottom crust with a thin layer of beaten egg before adding the filling – this creates a seal that helps prevent sogginess. With these tricks, you’ll be saying goodbye to soggy bottoms forever!
Can I make this ahead for a dinner party?
This is a perfect make-ahead dish! You have several options: Prepare just the filling up to 2 days ahead and refrigerate, then assemble and bake the day of your party. Or assemble the entire pie a day ahead, cover tightly with plastic wrap, and refrigerate (don’t add the egg wash until right before baking). You can even bake the pie completely, cool it, refrigerate, and then reheat at 350°F for about 20-30 minutes until warmed through. Just cover the crust with foil if it starts to brown too much during reheating. Having this prepped ahead means you can actually enjoy your own dinner party!
Final Thoughts
Homemade Chicken Pot Pie isn’t just a meal—it’s a statement. It says, “I care enough to make something truly special.” It’s the kind of dish that creates memories, the one people request for birthdays or when they need cheering up. Yes, it takes a bit more effort than opening a box from the freezer aisle, but the payoff is immeasurable. In a world of fast food and instant everything, there’s something profoundly satisfying about creating a dish that has stood the test of time, that connects us to generations of home cooks who understood the power of a well-made pie to nourish both body and soul. So roll up your sleeves, set aside a lazy Sunday afternoon, and treat yourself and your loved ones to the ultimate comfort food experience.


