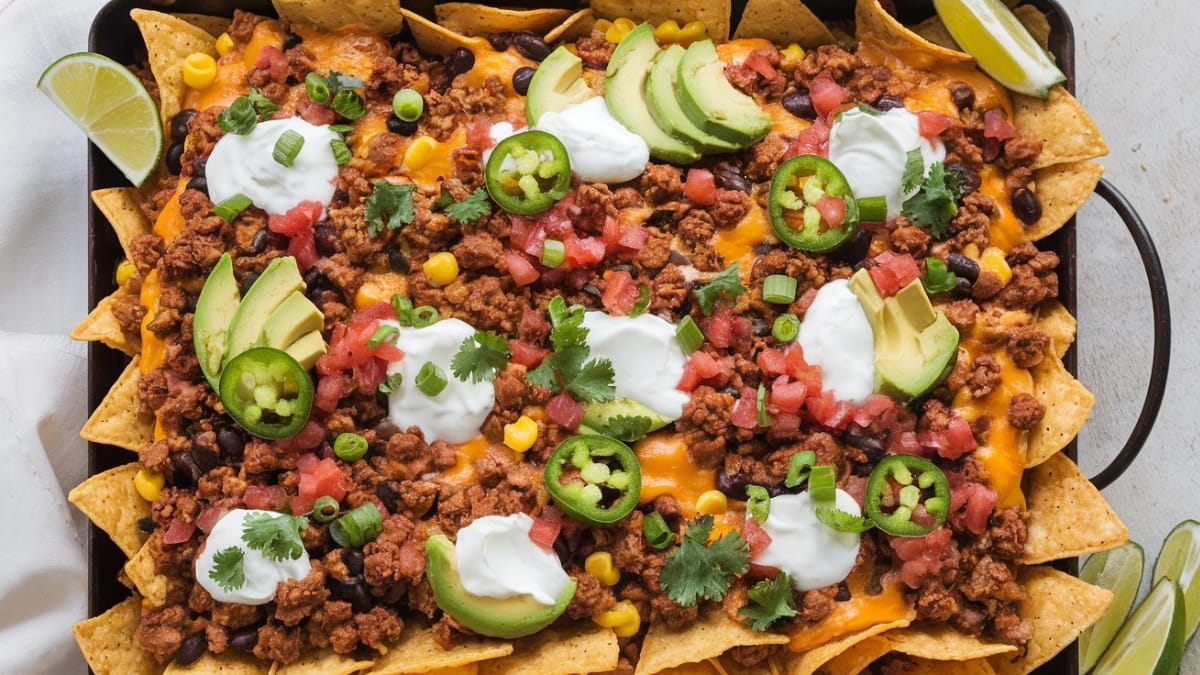
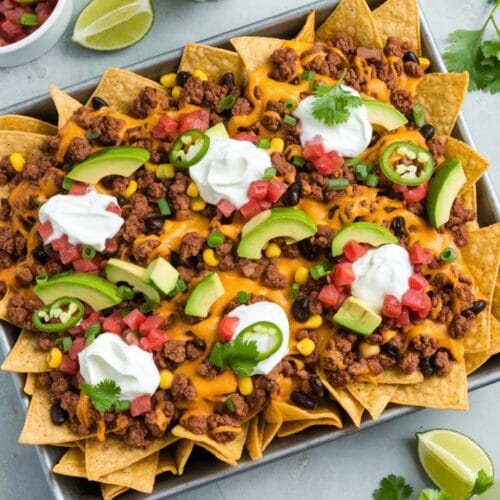
Let me tell you about the nachos that nearly caused a family feud at my last game day gathering. I had just pulled this massive tray of beef nachos from the oven – all bubbling cheese, seasoned beef, and colorful toppings – when my brother-in-law lunged across the coffee table to grab a handful before anyone else could make a move. What followed was a nacho feeding frenzy that left nothing but a few sad jalapeño slices within 10 minutes. These aren’t your average soggy, half-hearted nachos from the concession stand. These are the kind of nachos that make people position themselves strategically near the food table and develop sudden “I need to refill my drink” excuses just to snag another portion. Ready to create your own nacho-based power move? Let’s do this.
Why These Beef Nachos Will Rock Your World

These aren’t your basic, one-dimensional nachos with a sad sprinkle of cheese. This is nacho architecture at its finest – a perfect balance of crispy, chewy, spicy, and creamy in every bite. The seasoned ground beef brings satisfying protein and depth of flavor, while the two-cheese strategy creates those Instagram-worthy cheese pulls. But the real magic is in the layering technique – no more naked chips at the bottom of the pile! Every single chip gets its fair share of toppings, and the quick trip under the broiler creates the perfect crispy-melty contrast that takes these from good to unforgettable. Whether you’re feeding a hungry crowd or just treating yourself to an epic snack dinner (no judgment here), these nachos deliver maximum flavor with minimum effort.

Beef Nachos
Equipment
- Large baking sheet
- Skillet
- Aluminum foil (optional)
Ingredients
For the beef
- 1 pound ground beef (80/20 lean-to-fat ratio)
- 1 small onion, finely diced
- 2 cloves garlic, minced
- 1 tablespoon olive oil
- 2 tablespoons taco seasoning (store-bought or homemade)
- 1/4 cup water
- Salt to taste
For the nacho base
- 1 large bag (13-16 oz) tortilla chips, preferably thick-cut restaurant style
- 2 cups shredded cheddar cheese
- 2 cups shredded Monterey Jack cheese
- 1 can (15 oz) black beans, drained and rinsed
- 1 cup corn kernels (fresh, frozen and thawed, or canned and drained)
- 1-2 jalapeños, thinly sliced (remove seeds for less heat)
For the cold toppings (add after baking)
- 1 cup pico de gallo or fresh salsa
- 1 large avocado, diced, or guacamole
- 1/2 cup sour cream
- 1/4 cup chopped fresh cilantro
- 2 green onions, thinly sliced
- Lime wedges for serving
Instructions
Step 1: Prepare the Beef
- Heat olive oil in a large skillet over medium-high heat until shimmering.
- Add diced onion and cook for 2-3 minutes until softened and translucent.
- Add ground beef and break it apart with a wooden spoon. Season with a pinch of salt.
- Cook the beef until no pink remains, about 5-7 minutes, stirring occasionally.
- Add minced garlic and cook for another 30 seconds until fragrant.
- Sprinkle taco seasoning over the beef mixture and stir to coat evenly.
- Pour in 1/4 cup water, stir well, and let simmer for 2-3 minutes until most of the liquid has evaporated but the meat remains moist.
- Remove from heat and set aside.
Step 2: Preheat and Prep
- Position an oven rack about 6 inches from the broiler and preheat your broiler to high.
- Cover a large baking sheet with aluminum foil for easier cleanup (optional) or lightly oil the sheet.
- Combine the shredded cheddar and Monterey Jack cheeses in a bowl and mix well.
Step 3: Build Your Nacho Masterpiece
- Layer 1: Spread half of the tortilla chips in an even layer on the prepared baking sheet. Don't crowd them too much – a little overlap is okay, but you want most chips to have direct access to toppings.
- Sprinkle half of the seasoned beef evenly over the chips.
- Add half of the black beans and corn scattered over the beef layer.
- Top with half of the shredded cheese mixture and half of the jalapeño slices.
- Layer 2: Repeat the process – remaining chips, then beef, beans, corn, cheese, and jalapeños.
Step 4: Broil to Perfection
- Place the baking sheet under the broiler and cook for 2-4 minutes, until the cheese is completely melted, bubbly, and just starting to brown in spots.
- Watch carefully! Broilers can quickly turn "perfectly melted" into "charcoal" if unattended. The goal is melty, slightly browned cheese, not a nacho inferno.
- Remove from the oven when the cheese is bubbling and the edges of some chips are just beginning to darken.
Step 5: Add the Cold Toppings
- Immediately dollop spoonfuls of sour cream across the hot nachos.
- Scatter the diced avocado or small scoops of guacamole over the top.
- Spoon pico de gallo or salsa in various spots.
- Sprinkle with chopped cilantro and green onions.
- Serve immediately with lime wedges on the side for squeezing over the top.
- Stand back and watch them disappear!
Recipe Notes
- Chip choice matters: Thick, restaurant-style tortilla chips hold up better under toppings. Thin chips tend to get soggy quickly.
- Cheese strategy: Pre-shredded cheese often contains anti-caking agents that affect meltability. For the gooiest, most perfect cheese pull, buy blocks and shred them yourself.
- Make ahead option: Prepare the beef up to 2 days ahead and refrigerate. Reheat before assembling.
- Serving suggestion: For a party, consider making multiple smaller trays rather than one giant one. This allows you to refresh with hot nachos throughout the event.
- Temperature contrast: The magic of great nachos is the contrast between hot, melty elements and cold, fresh toppings. Don’t skip that final fresh layer!
Common Mistakes to Avoid
- Skipping the layering. If you pile all chips and then top them, you’ll end up with amazing top chips and sad, naked chips underneath. The double-layer method ensures every chip gets some love.
- Using too much liquid. Wet toppings make soggy chips. Drain beans, corn, and salsa well before adding them to preserve the crunch factor.
- Overloading the chips. It’s tempting to pile on more and more toppings, but overloaded chips break when you try to pick them up. A reasonable amount of topping per chip is the goal!
Variations & Customizations
- Chicken Version: Substitute 2 cups of shredded rotisserie chicken tossed with taco seasoning for the ground beef.
- Vegetarian Delight: Skip the beef and double up on beans – try a combination of black beans and pinto beans. Add some sautéed bell peppers and onions for extra flavor.
- Breakfast Nachos: Top with scrambled eggs, chorizo instead of ground beef, and add some breakfast potatoes. Serve with hot sauce and a side of fruit for a mind-blowing brunch option.
FAQs
Can I make these ahead of time?
Partially. Prepare the beef and other toppings ahead, but assemble and broil just before serving. Pre-assembled nachos will become soggy if they sit too long.
How do I keep nachos warm for a party?
Nachos are best served immediately after broiling. If needed, you can place them in a 200°F oven for up to 15 minutes, but the texture will begin to suffer with extended heating.
What if I don’t have a broiler?
You can bake the nachos in a preheated 425°F oven for 5-7 minutes until the cheese melts. You won’t get quite the same browned cheese effect, but they’ll still be delicious!
Final Thoughts
There’s something wonderfully communal about a big tray of nachos. They break down barriers – it’s hard to be formal or standoffish when you’re all diving in for that perfect chip with all the toppings. These loaded beef nachos aren’t just food; they’re an experience, a conversation starter, and probably the quickest route to popularity at any gathering. They may not be fancy or sophisticated, but sometimes the most honest food is the most satisfying. So go ahead, make a ridiculously huge tray of these nachos, invite some people you like (or keep them all for yourself, I won’t tell), and enjoy the simple pleasure of perfectly executed Tex-Mex comfort food.


