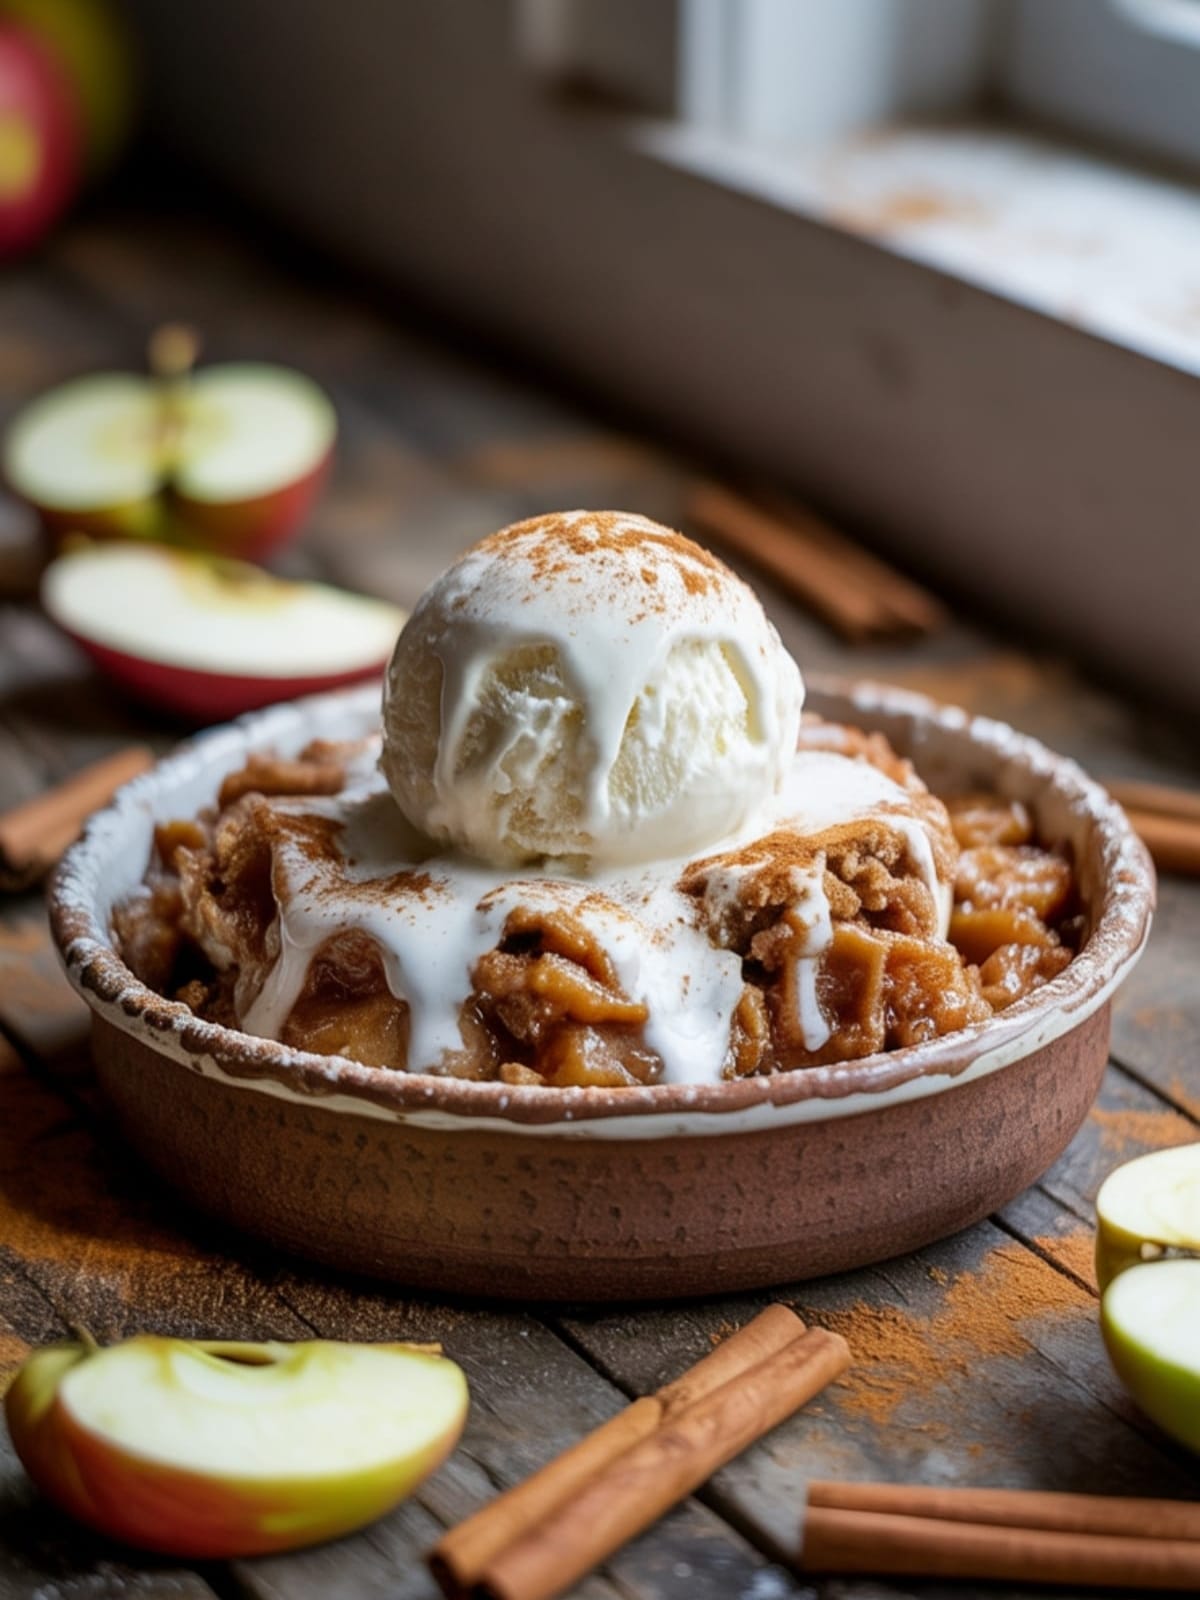
There’s something incredibly nostalgic about the aroma of apples and cinnamon wafting through your home on a crisp autumn day. If you’re looking for the perfect dessert that captures the essence of fall in every spoonful, this Caramel Apple Crisp is your answer. It transforms ordinary apples into an extraordinary treat that balances tart fruit, sweet caramel, and that irresistible buttery oat topping that cracks perfectly under your spoon.
Why This Recipe is Awesome

What makes this Caramel Apple Crisp truly special is how it elevates the classic apple crisp with rich, homemade caramel that seeps into the apple filling.
Unlike many desserts that demand precision and fussiness, this recipe is wonderfully forgiving and adaptable. The contrast between the tender, caramel-infused apples and the crunchy, cinnamon-spiced topping creates a textural symphony that store-bought desserts simply can’t match. The beauty here lies in simplicity – you don’t need fancy equipment or professional skills to create something that tastes like it came from a high-end bakery.
Plus, it fills your home with that intoxicating apple-cinnamon scent that no candle has ever truly captured.
Equipment needed: 9×13 baking dish, mixing bowls, measuring cups, measuring spoons, whisk, pastry cutter or fork
Caramel Apple Crisp
Ingredients
For the Caramel Sauce
- 1 cup granulated sugar
- 6 tablespoons unsalted butter cut into pieces
- ½ cup heavy cream
- 1 teaspoon vanilla extract
- ¼ teaspoon salt
For the Apple Filling
- 6-7 medium Granny Smith apples about 2.5 pounds, peeled, cored and sliced ¼-inch thick
- 1 tablespoon lemon juice
- ¼ cup granulated sugar
- 2 tablespoons all-purpose flour
- 1 teaspoon ground cinnamon
- ¼ teaspoon ground nutmeg
- ¼ teaspoon salt
For the Crisp Topping
- 1 cup old-fashioned rolled oats
- 1 cup all-purpose flour
- ¾ cup packed brown sugar
- ½ cup chopped pecans optional
- ½ teaspoon ground cinnamon
- ¼ teaspoon salt
- ½ cup 1 stick cold unsalted butter, cubed
Instructions
- Preheat your oven to 350°F (175°C) and lightly grease a 9×13 inch baking dish.
- Make the caramel sauce first by heating the sugar in a medium saucepan over medium heat, stirring constantly with a heat-resistant spatula until it melts and turns amber (about 5-7 minutes). Be patient and watch carefully as sugar can burn quickly.
- Add the butter to the melted sugar carefully as it will bubble vigorously. Stir until completely melted and incorporated (about 2-3 minutes).
- Slowly pour in the heavy cream while stirring constantly. The mixture will bubble aggressively again – this is normal. Continue stirring until smooth (about 1 minute).
- Remove from heat and stir in vanilla and salt. Transfer to a heat-safe container and set aside to cool slightly while preparing the rest of the crisp.
- Prepare the apple filling by combining the sliced apples and lemon juice in a large bowl, tossing to coat. Add sugar, flour, cinnamon, nutmeg, and salt, mixing until apples are evenly coated.
- Make the crisp topping by combining oats, flour, brown sugar, pecans (if using), cinnamon, and salt in a medium bowl. Add cold butter cubes and use a pastry cutter or your fingers to work the butter into the dry ingredients until the mixture resembles coarse crumbs.
- Layer your crisp by arranging the apple mixture in the prepared baking dish. Drizzle about ⅔ of the caramel sauce evenly over the apples (reserve the remaining caramel for serving).
- Sprinkle the crisp topping evenly over the apple and caramel layers, covering completely.
- Bake for 45-55 minutes until the topping is golden brown and the filling is bubbling around the edges. If the topping browns too quickly, loosely cover with aluminum foil.
- Allow to cool for 15-20 minutes before serving. This cooling time helps the filling set and prevents burning your mouth on molten caramel.
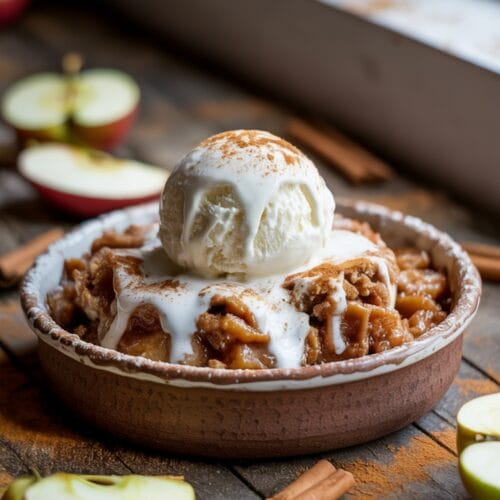
- Serve warm with a scoop of vanilla ice cream and a drizzle of the reserved caramel sauce.
Notes
- For the best flavor contrast, use tart Granny Smith apples. If you prefer a sweeter dessert, substitute half with Honeycrisp or Gala apples.
- The caramel sauce can be made up to 5 days ahead and stored in the refrigerator. Just warm it slightly before using.
- If you’re short on time, you can substitute store-bought caramel sauce, but the homemade version truly elevates this dessert.
- For a less sweet version, reduce the sugar in the apple filling to 2-3 tablespoons.
- The crisp keeps well at room temperature for 2 days or refrigerated for up to 5 days, though the topping will soften over time.
Calories & Nutritional Info
- Calories: Approximately 490 calories per serving
- Carbohydrates: 76g
- Fat: 22g
- Protein: 3g
- Fiber: 4g
- Contains: Dairy, gluten (can be made gluten-free with substitutions)
- May contain: Tree nuts if using pecans
Common Mistakes to Avoid
- Rushing the caramel process – Patience is key. Stirring constantly and watching carefully prevents burning and ensures smooth caramel.
- Cutting apple slices too thin or thick – Too thin and they’ll turn to mush; too thick and they won’t cook through. Aim for consistent ¼-inch slices.
- Using warm butter in the topping – Cold butter creates those desirable crumbs. If your butter warms too much while handling, chill the topping for 10 minutes before baking.
- Skipping the cooling time – The filling needs those 15-20 minutes to set properly, otherwise it will be too runny when served.
- Not adjusting for your oven’s quirks – If you know your oven runs hot, check the crisp earlier to prevent burning the topping.
Alternatives & Substitutions
- Gluten-free option: Replace all-purpose flour with a 1:1 gluten-free flour blend and ensure your oats are certified gluten-free.
- Dairy-free adaptation: Substitute coconut oil for butter and full-fat coconut cream for heavy cream. The flavor profile will change slightly but remains delicious.
- Nut alternatives: Swap pecans for walnuts, almonds, or omit entirely for a nut-free version.
- Fruit variations: Try mixing in pears with the apples, or substitute some cranberries for a tart twist in fall and winter.
- Spice adjustments: Add ¼ teaspoon of cardamom or ginger to the apple mixture for a more complex flavor profile.
- Quick topping option: In a real pinch, granola can substitute for the crisp topping (though it won’t be quite the same).
FAQs
Can I make this Caramel Apple Crisp ahead of time?
Absolutely! You can prepare the entire dish up to 24 hours in advance and refrigerate unbaked. When ready to serve, allow it to come to room temperature for about 30 minutes, then bake as directed. You may need to add 5-10 minutes to the baking time if it’s still cold.
Why did my caramel crystallize and become grainy?
This typically happens when sugar crystals form during the melting process. To prevent this, avoid stirring too vigorously, make sure your pan and utensils are completely clean, and consider adding a teaspoon of corn syrup to the sugar before heating.
Can I freeze this Caramel Apple Crisp?
Yes! You can freeze it either before or after baking. If freezing unbaked, assemble completely, cover tightly, and freeze for up to 3 months. Bake from frozen, adding 15-20 minutes to the baking time. If freezing after baking, cool completely, wrap well, and freeze for up to 2 months. Thaw overnight in the refrigerator and reheat in a 350°F oven until warmed through.
My topping isn’t crispy enough.
What went wrong? The most common culprit is not enough butter in the topping or overcrowding your baking dish. Make sure your butter is cold and well-incorporated, and that your topping layer isn’t too thick in any one area. You can also try increasing your oven temperature to 375°F for the last 10-15 minutes of baking.
What’s the best way to reheat leftovers?
For the best texture, reheat individual portions in a 350°F oven for about 15 minutes. Microwaving works in a pinch (about 30-45 seconds per serving), but the topping won’t retain its crispness.
Final Thoughts
This Caramel Apple Crisp is more than just a dessert—it’s an experience that brings together the best flavors of the season in every comforting bite. The combination of homemade caramel, spiced apples, and buttery crisp topping creates something truly special that’s worth making again and again. Whether serving it at a holiday gathering or simply treating yourself on a cozy evening, this dessert has a way of making moments memorable.


